Simple Composting
Simple Composting: It's Just Rotting Stuff (And That's the Point)
Before you scroll past thinking "yeah yeah, I know I should compost" — stick with me for a sec.
Because I reckon most people make this way harder than it needs to be. If you've been putting it off because it seems complicated, or smelly, or like you need some kind of fancy setup — this post is going to fix that.
Here's the truth about composting: it's just rotting stuff in a controlled way. That's it. That's the whole thing. Once you get your head around that, everything else falls into place.
Why Bother? Three Reasons That Actually Matter
Look, I get it. You're busy. Between the kids, the job, the garden, the animals — the last thing you need is another job.
But here's the thing about composting: once it's set up, it basically runs itself. And the payoff is genuinely worth it.
It saves you money. You're turning stuff you'd throw in the bin into free fertiliser. That's money you're not spending on bags of compost or potting mix from the garden centre.
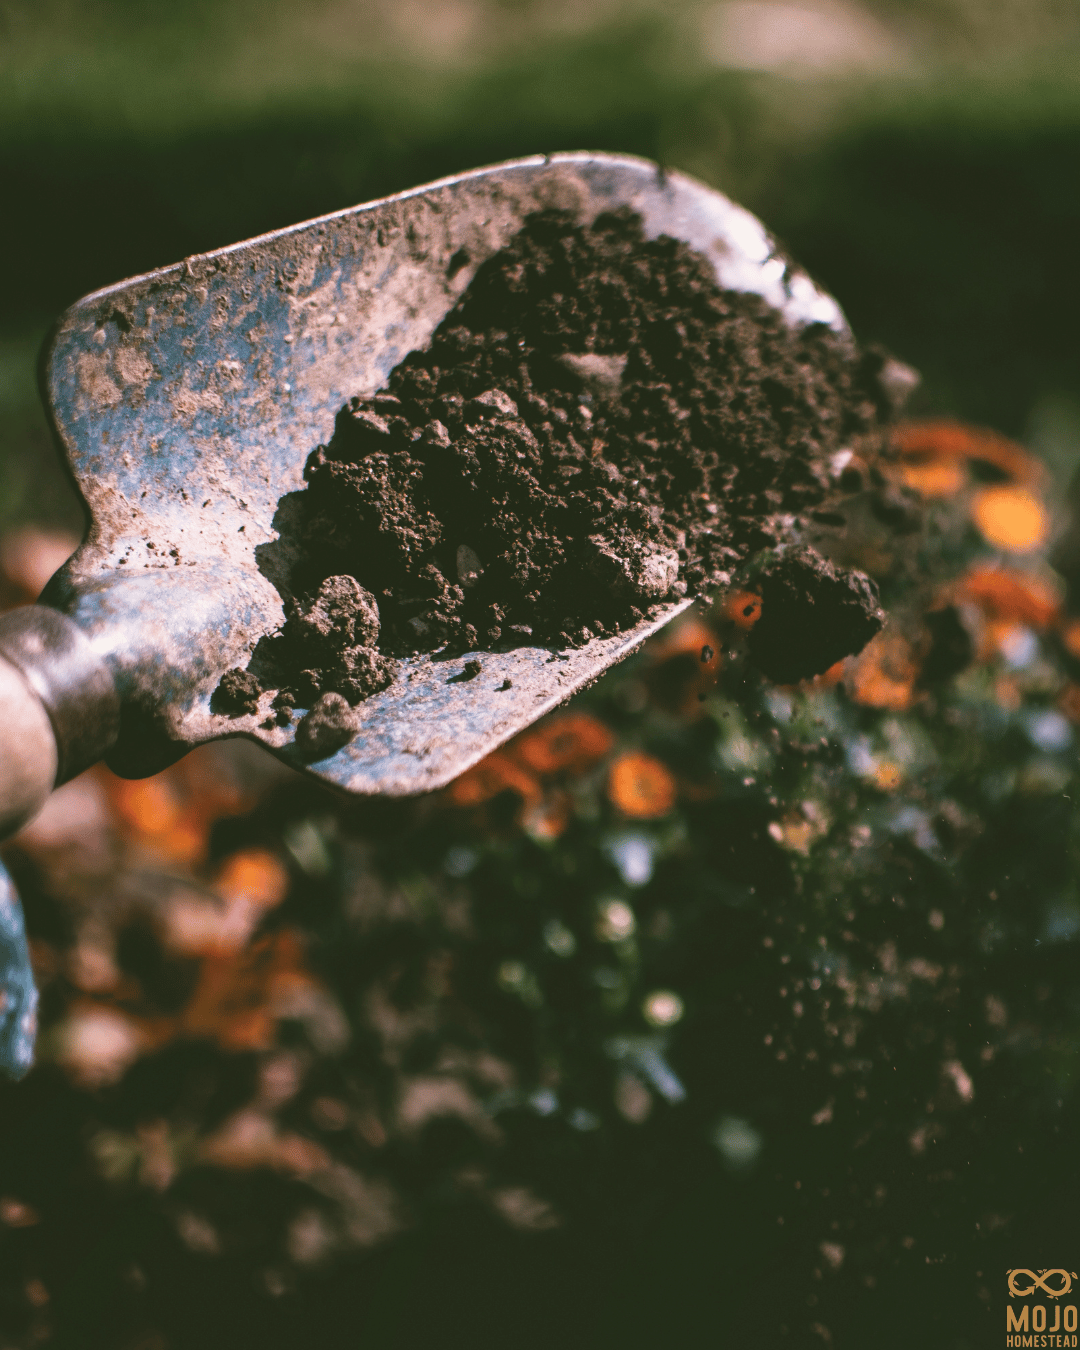
It builds your soil. And I want to be clear here — there's a big difference between feeding your plants and building your soil. Compost does both, but the real magic is what it does long-term to the structure of your soil. Better soil means better water retention, better drainage, better everything. It's the foundation of a productive garden.
It reduces waste. Kitchen scraps, garden clippings, cardboard — instead of going to landfill, it all goes back into your garden. It's the ultimate closed loop on a homestead.
The Only Thing You Actually Need to Understand
Here's where people get overwhelmed. They start reading about carbon-to-nitrogen ratios and hot composting versus cold composting and they just… give up before they even start.
So I'm going to simplify this down to the ONE thing you need to know.
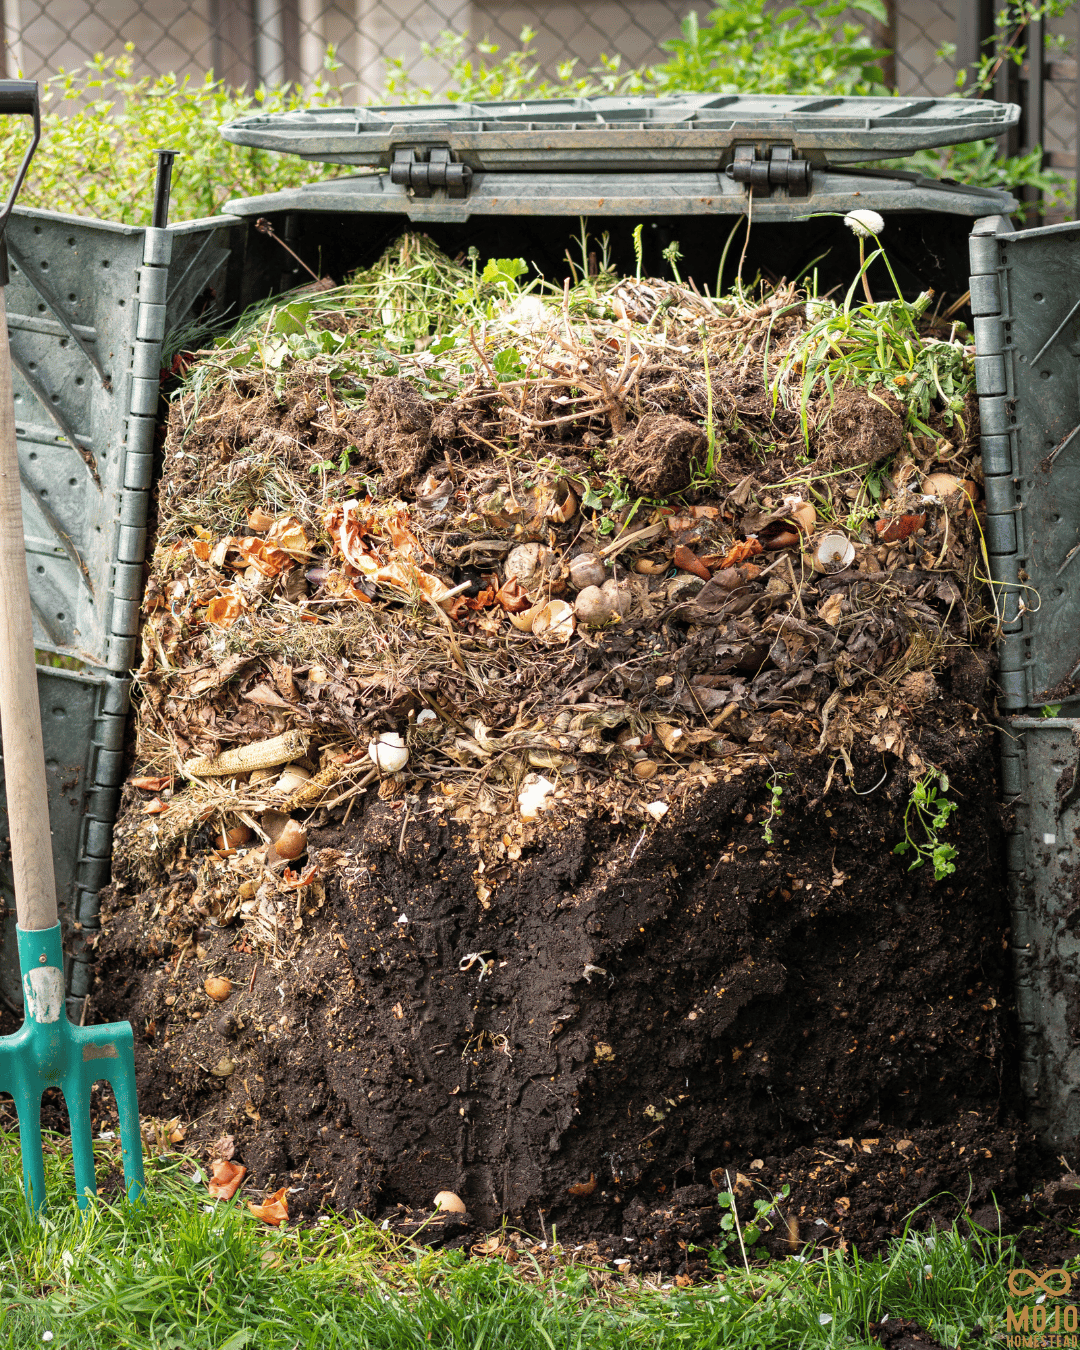
Greens and Browns.
That's it.
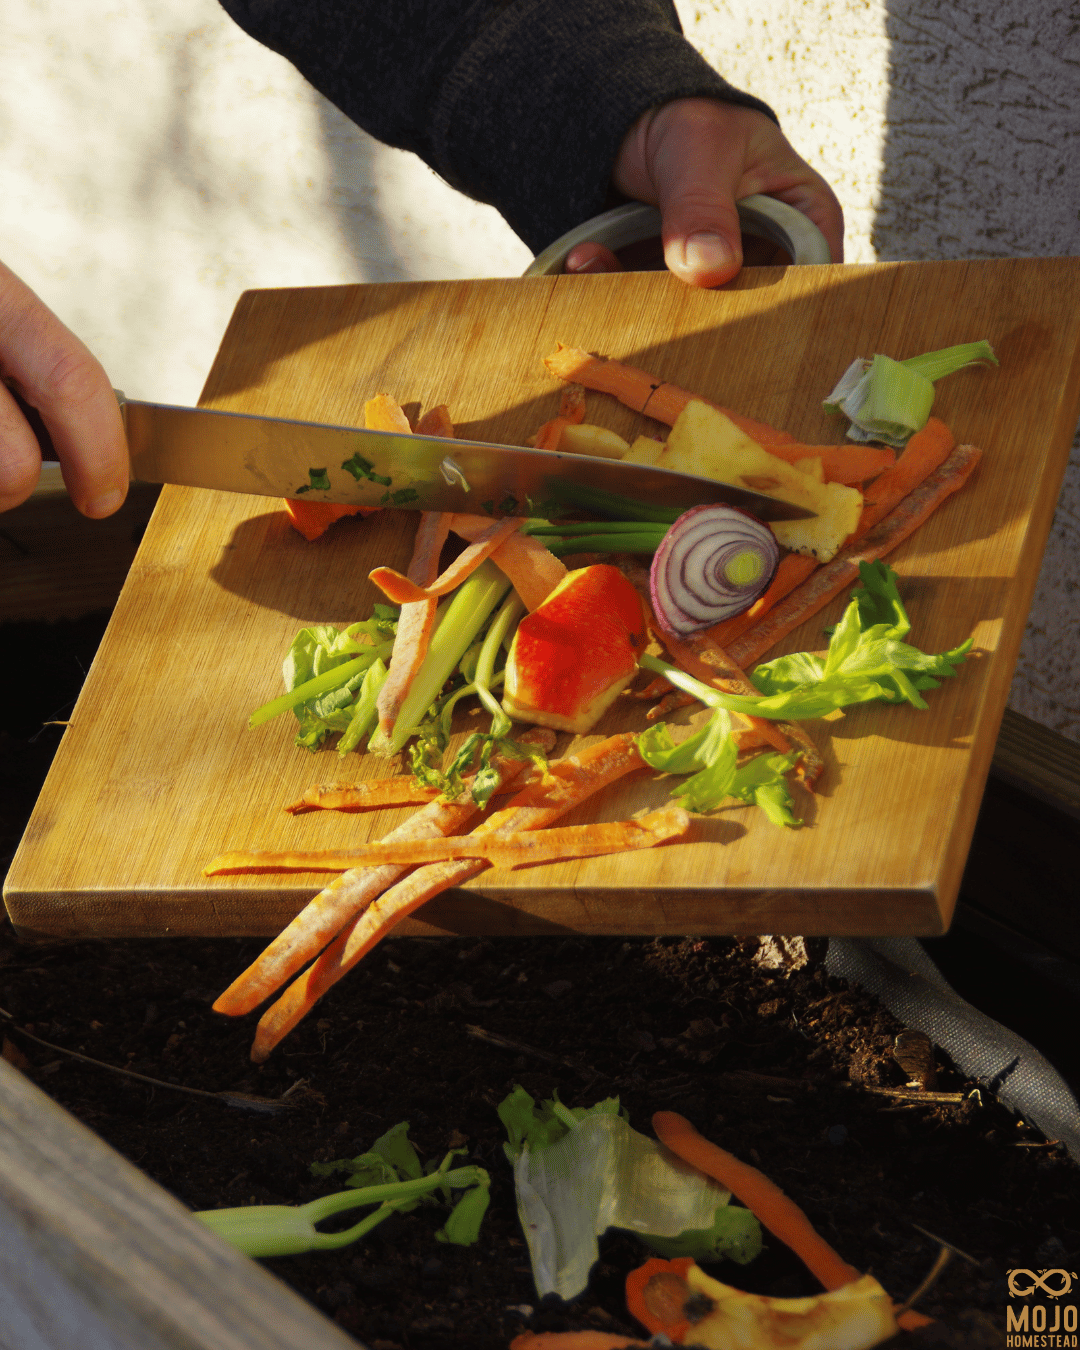
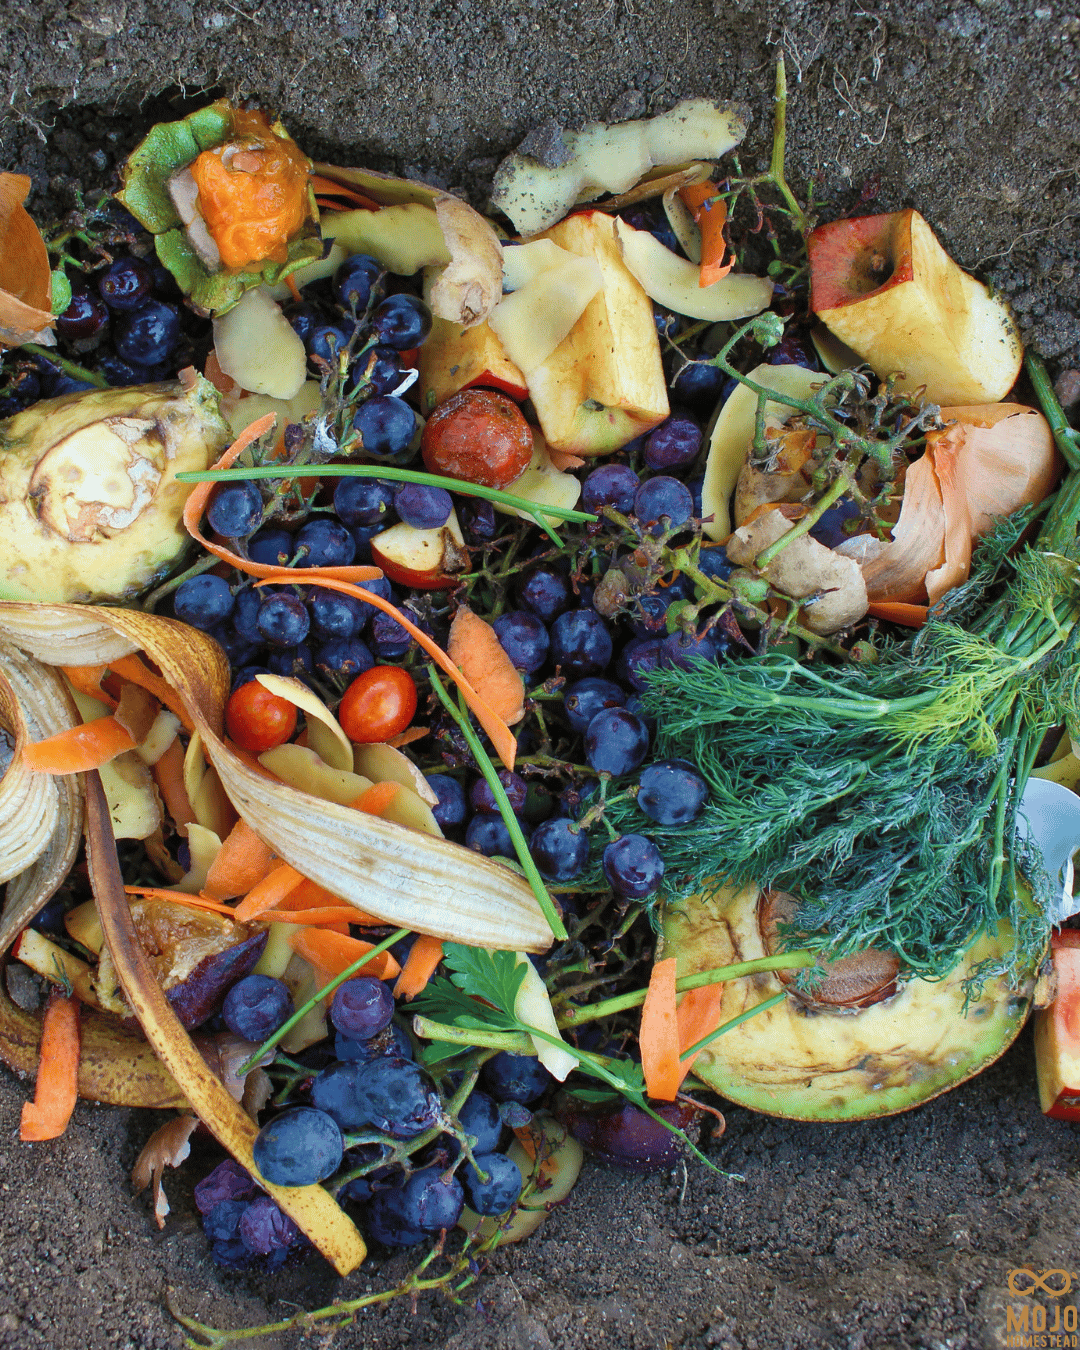
Greens are your wet, nitrogen-rich stuff — vegetable peelings, fruit scraps, coffee grounds, tea bags, fresh grass clippings, fresh manure. Anything wet and green-ish.
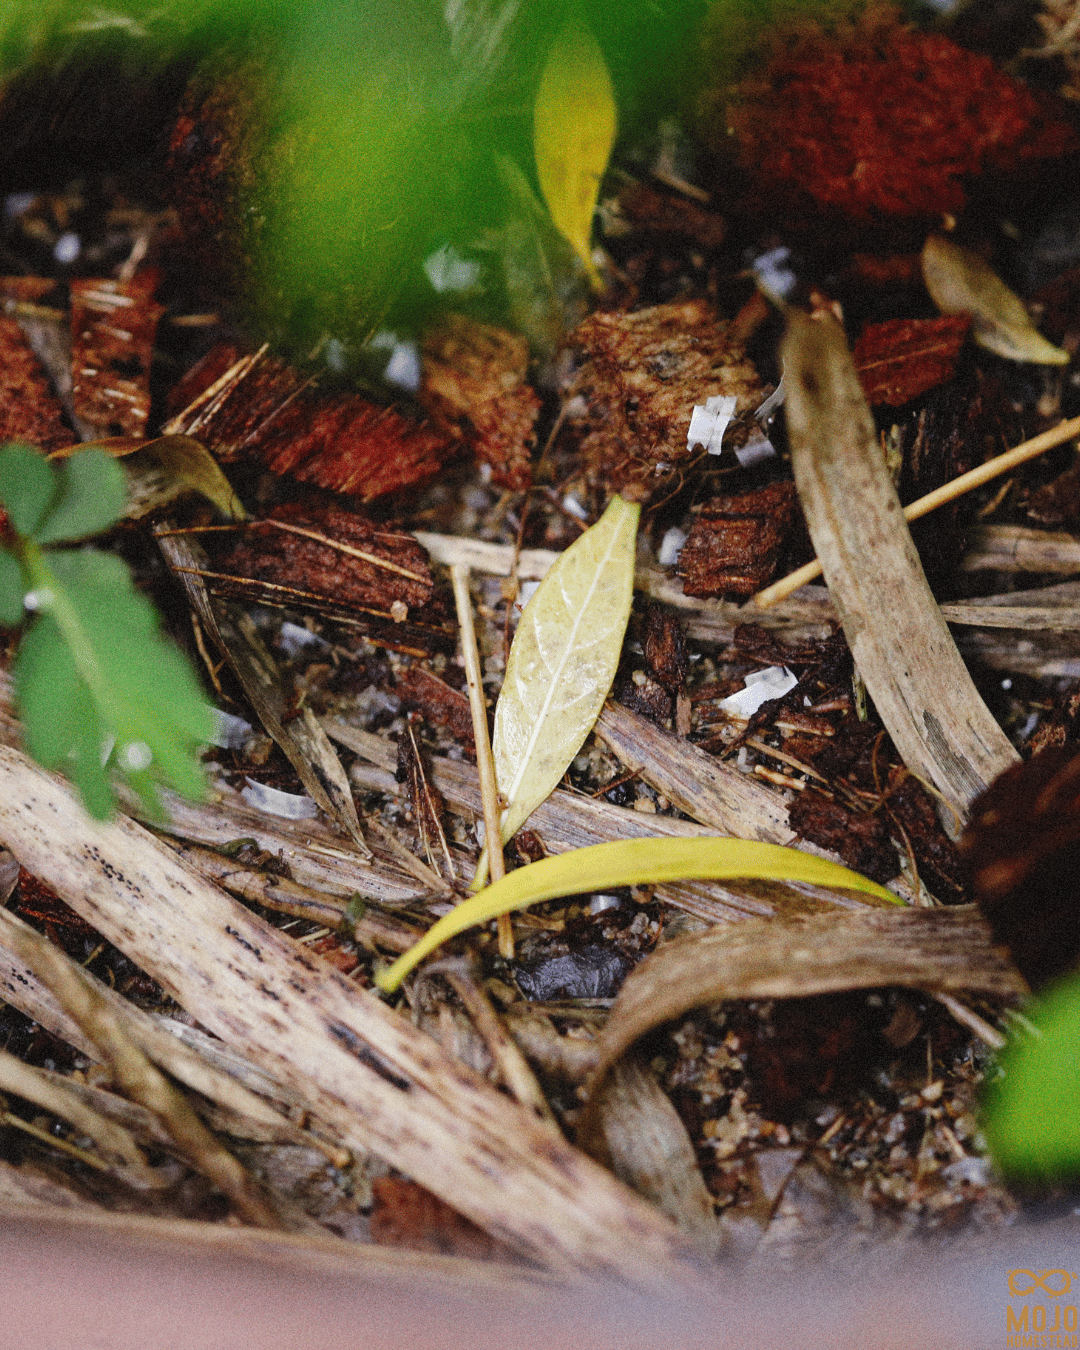
Browns are your dry, carbon-rich stuff — cardboard, paper, dry leaves, straw, wood chips. Anything dry and brown-ish.
You want a rough balance of the two. If anything, lean toward more browns — maybe a 2:1 ratio of browns to greens. But honestly? Don't stress about getting it perfect. A rough balance is all you need to get started.
A great combo if you've got chickens: kitchen scraps and vegetable peelings layered with broken-down cardboard boxes or dry straw from the coop. Simple and effective.
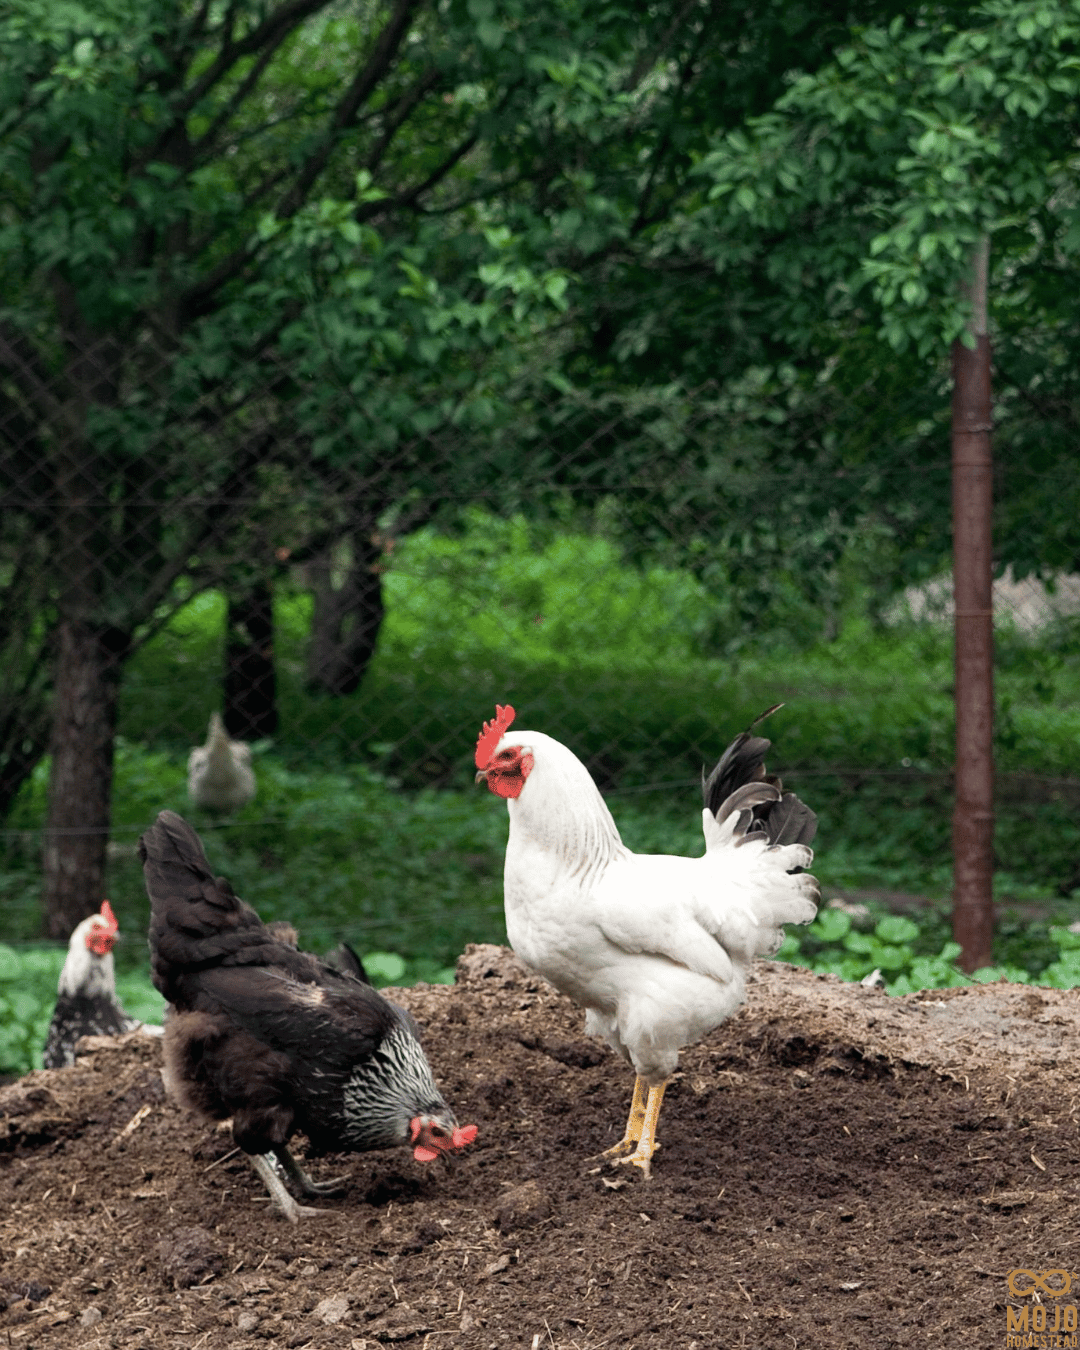
The Chicken Composting Hack
If you've got a chook pen, throw your kitchen scraps in there first.
They'll scratch through it, eat what they want, and what's left — plus their manure — goes straight into the compost.
You're essentially getting your compost pre-processed for free. Love a good closed loop.
Three Simple Ways to Start (None of Them Expensive)
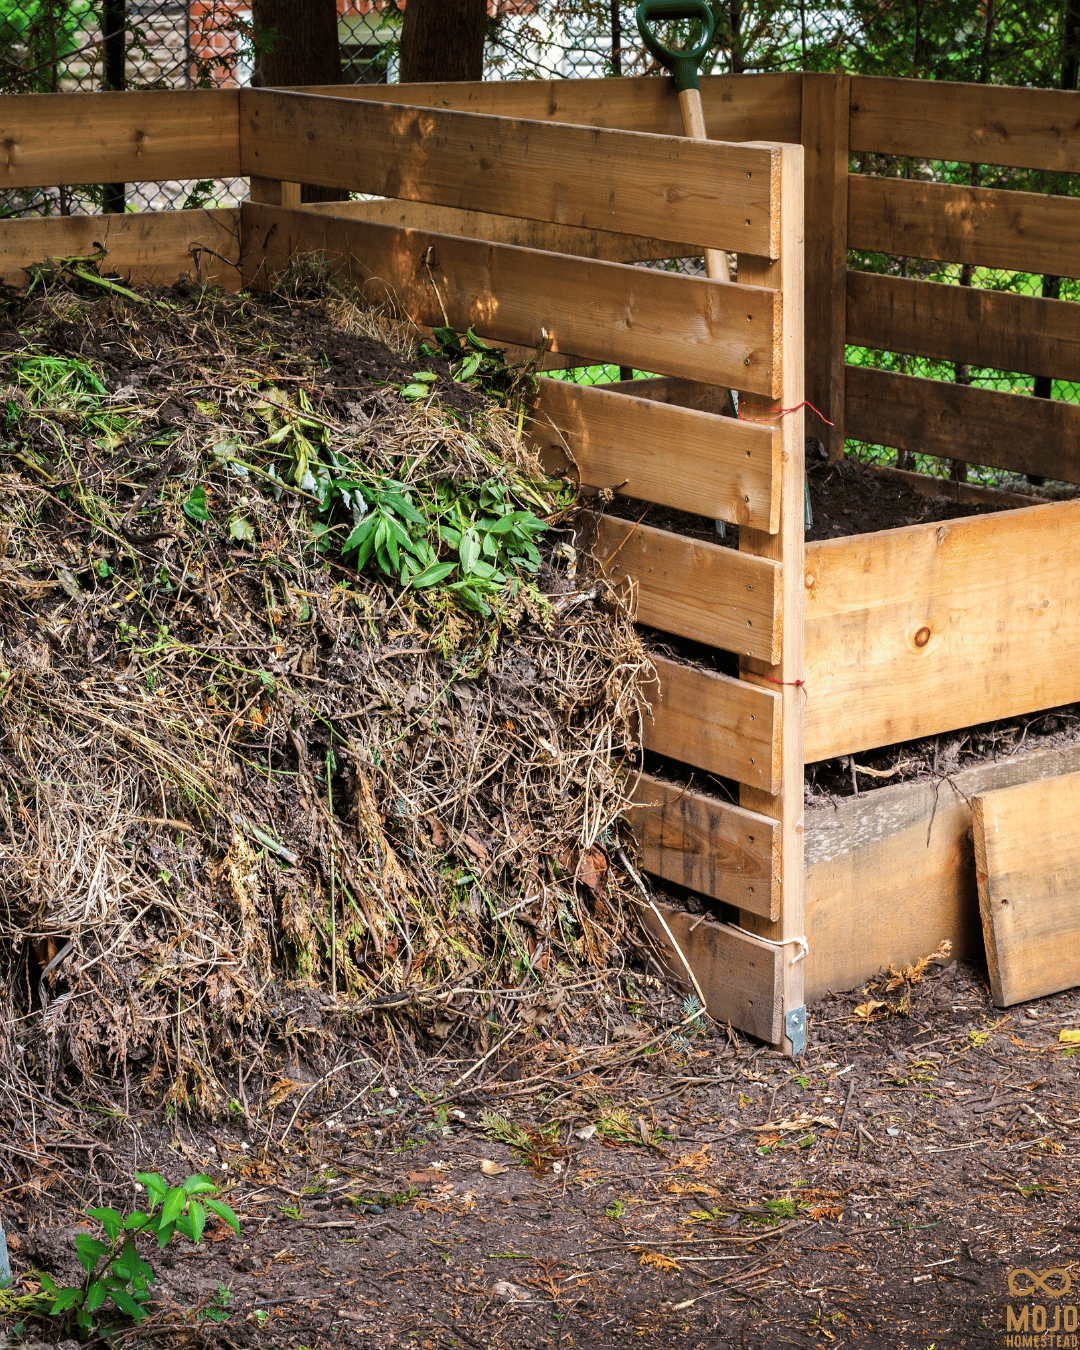
Option 1: A pile on the ground.Literally just start a pile in a corner of your yard. No bin, no structure, no cost. Just start layering your greens and browns. It works. It's slow, but it works. Great if you want to start today with zero investment.
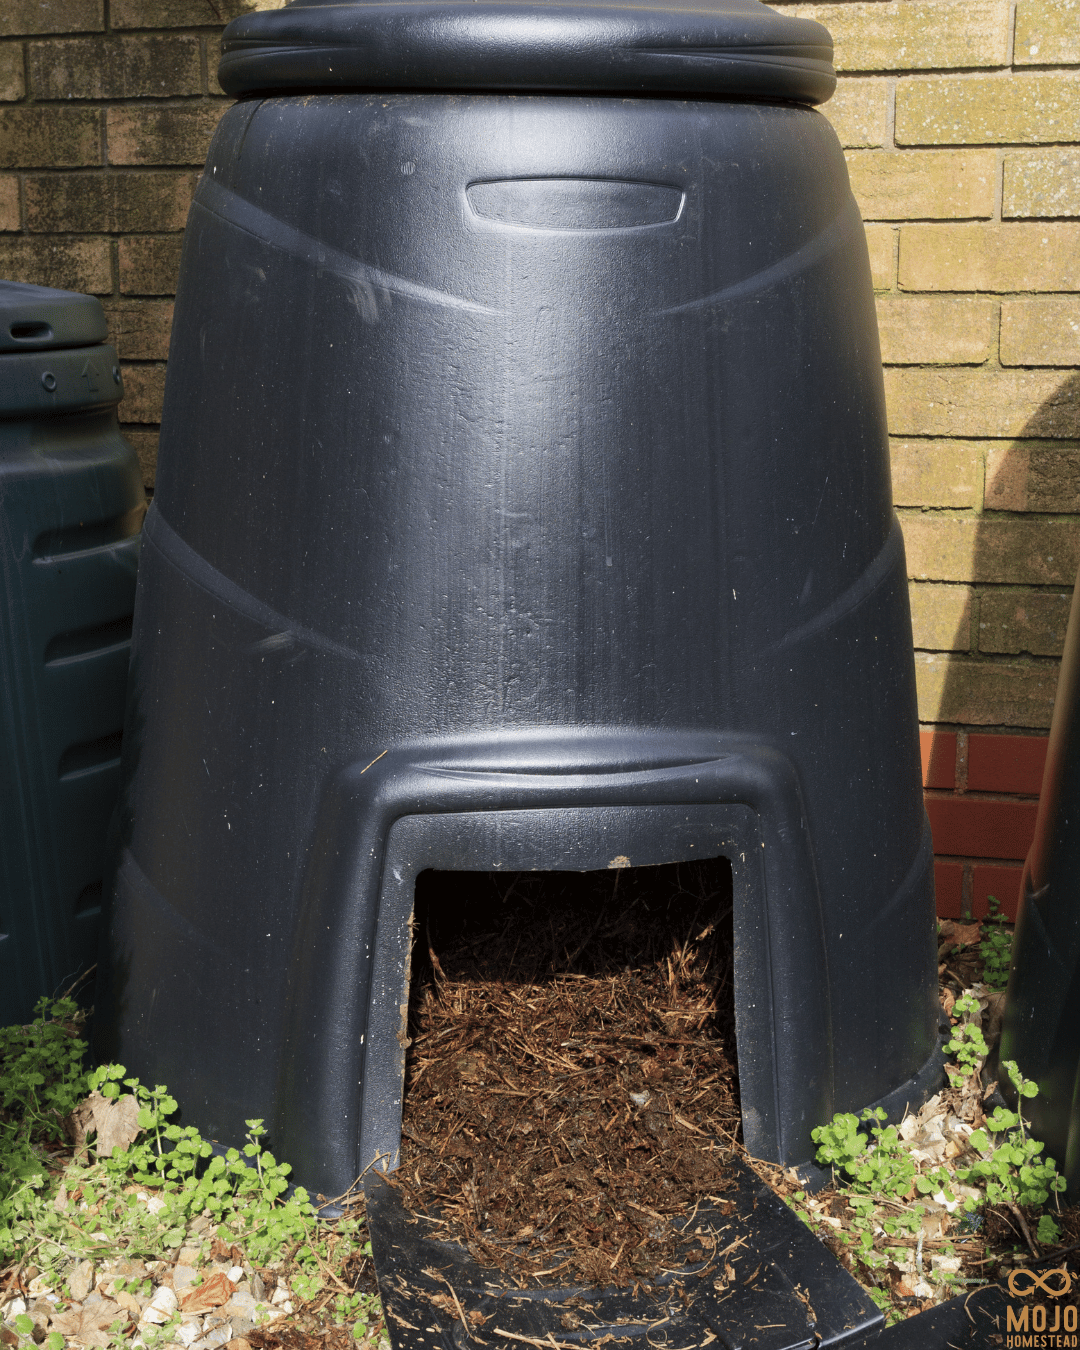
Option 2: A compost bin.You can buy these from hardware stores, or councils often sell them subsidised — sometimes as cheap as $10–$20. They're tidier, keep pests out better, and hold moisture well. Good for suburban backyards where you don't want it looking too rough.
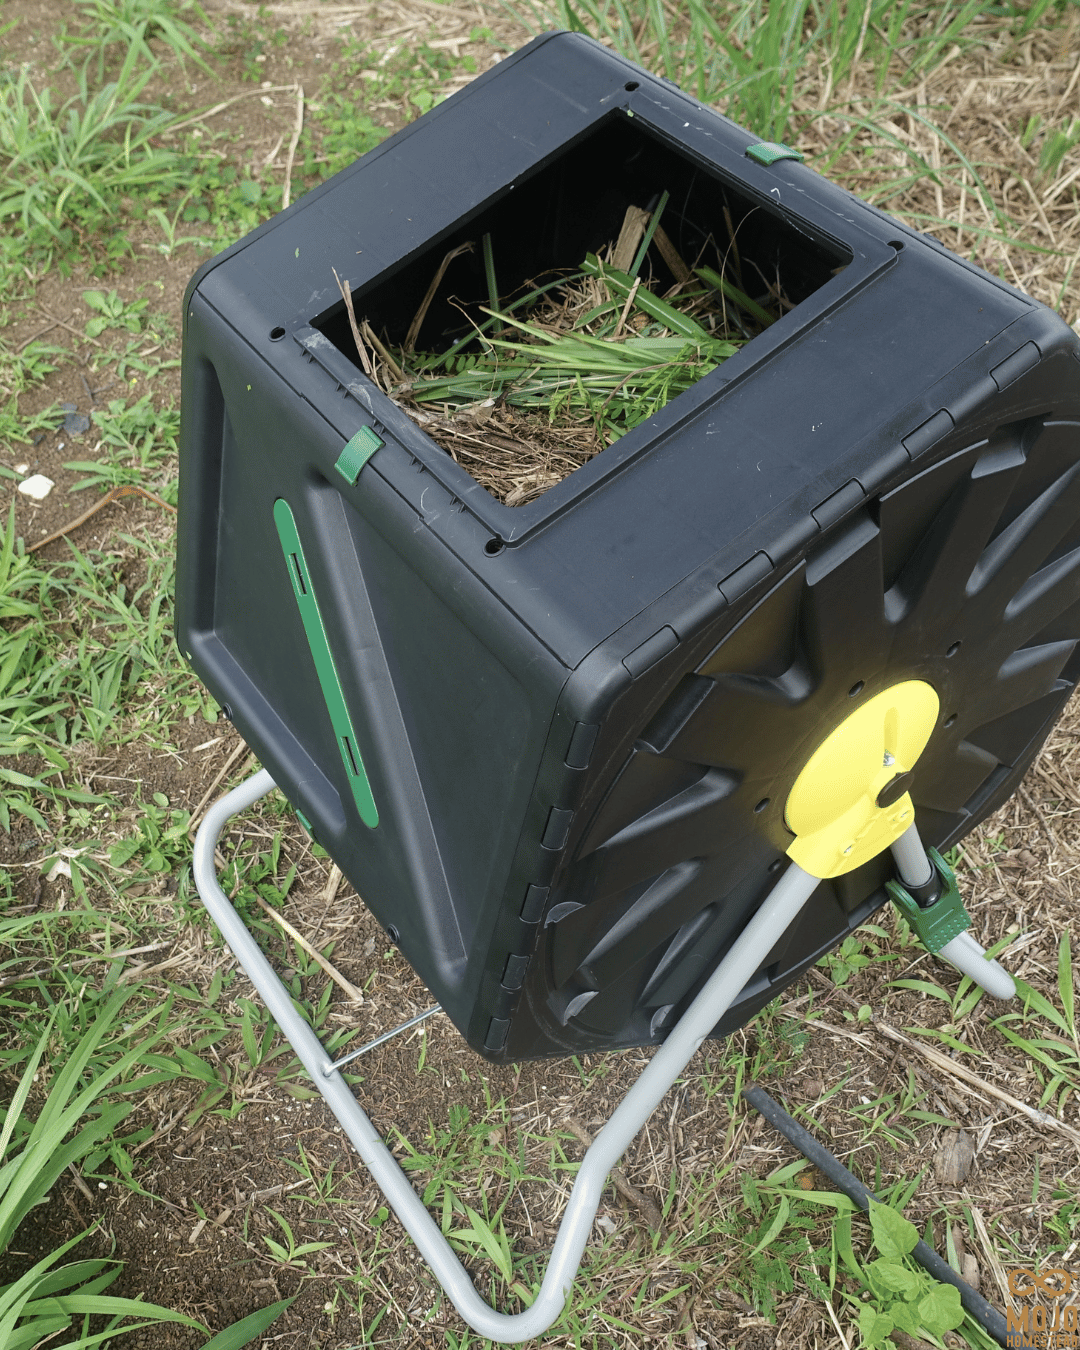
Option 3: A tumbler.The fancy rotating drum ones. Pros — they're fast, tidy, pest-resistant, and easy to turn. Cons — they're expensive, they can dry out quickly, and they're not great for large volumes. If you've got a small household and want fast results, a tumbler is great. For a bigger garden or farm, I'd stick with a bin or a pile.
My honest recommendation? Start with whatever you have access to right now. A pile costs nothing. You can always upgrade later.
How to Keep It Working
So you've started your pile.
Now what?
Three things keep a compost heap happy:
Air. Compost needs oxygen to break down. You add air by turning the pile — mixing it up with a fork or shovel. Turning it regularly speeds things up a lot. But if you're time-poor, don't stress. It'll still break down, just more slowly. Even a lazy compost pile gets there eventually.
Moisture. Your pile should feel like a wrung-out sponge — damp, but not dripping. Too dry and it won't break down. Too wet and it'll go slimy and smelly. In summer you might need to water it. In heavy rain, you might need to cover it.
Size. Bigger is better. A larger pile generates more heat, and heat is what speeds up decomposition and kills weed seeds. Aim for at least a metre square. Smaller than that and it won't heat up properly.

Common Problems and Easy Fixes
It smells bad.Usually means it's too wet, or you've got too many greens and not enough browns. Add more dry carbon material — cardboard, straw, dry leaves — and give it a turn to add some air.
It's not breaking down.Either it's too dry (give it a water) or you don't have enough nitrogen. Add more greens. Fresh grass clippings are brilliant for this, or a shovel of manure if you've got it.
Pests.Rats and mice are usually after cooked food, meat, or dairy. The rule is simple — don't put those things in your compost. Stick to raw fruit and veg scraps and you'll rarely have a pest problem. A bin with a lid helps too.
What NOT to Stress About
I want to end on this because I think it's the most important bit.
Don't stress about the ratios being perfect. A rough balance is fine. Compost is forgiving.
Don't stress about having a fancy system. A pile on the ground works. A $10 bin works. You do not need a $300 tumbler to make good compost.
Don't stress about doing it "wrong." There is no wrong. If stuff is rotting, you're composting. The end.
Just Start Messy
Here's the takeaway: you will figure this out faster by doing than by waiting until you've read every article on the internet and bought the perfect bin.
Grab a cardboard box.
Throw your veggie scraps on it.
Add some dry leaves.
You've started.
That's genuinely all it takes.
If this has got you thinking about the bigger picture — about actually reducing what you buy and building a home that produces more than it consumes — that's exactly what the Ditch the Store book series is all about. It's the step-by-step guide I wish I'd had when I started. Head to mojohomestead.net for the full range, or check the show notes for links.
Want to Ditch the Store and Produce More of Your Own Food?
Join the Mojo Homestead community for practical homesteading tips, backyard chicken advice, seasonal gardening inspiration, and simple ways to build a more self-sufficient lifestyle.
Because every egg you collect yourself is one less reason to rely on the supermarket.


BY MOJO HOMESTEAD